
This step by step tutorial will show you how to create a Globe effect panorama which will leave you with stunning results.
I am using Adobe Photoshop for the tutorial.
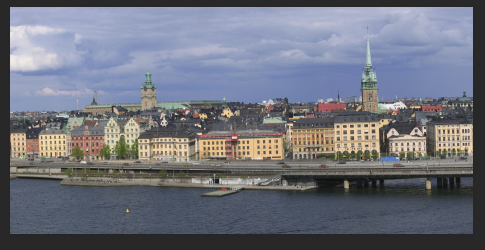
You will need to start with a panorama, ideally with the foreground (water, grass, etc) level across the image. This is so the end result does not have an obvious join, and is easier to tidy up.
I am starting with a panorama of Stockholm:

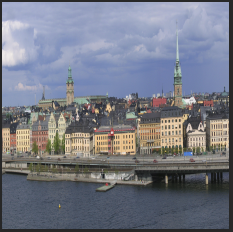
I cropped this so the water and houses nearly matched at each end. The end result looks like this :
You then need to change the image into a square.
To do this, select Image > Image size and click on the chain icon to delink Width and Height. Then copy the size in the height box and paste it into the width box.
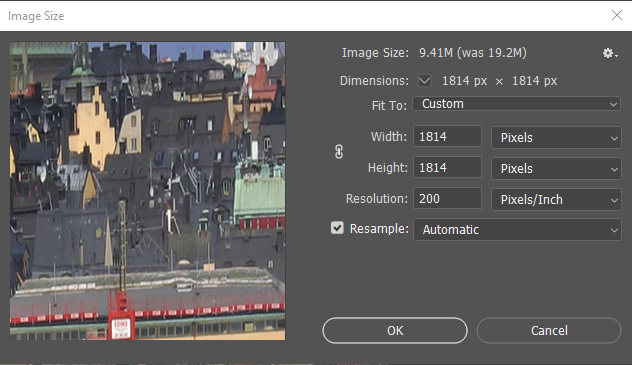
You should see a distorted version of your image in the preview window.
Select OK and you will see your new square panorama.
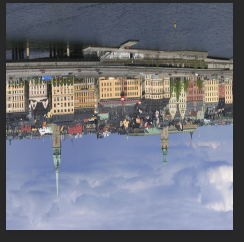
Next you should rotate the image 180 degrees. ( I say should, as you do not need to do this, but the top of the image becomes the centre of the picture so you tend to get better results, especially from a cityscape, but try both to see what happens!)
Select Image > Image Rotation > 180
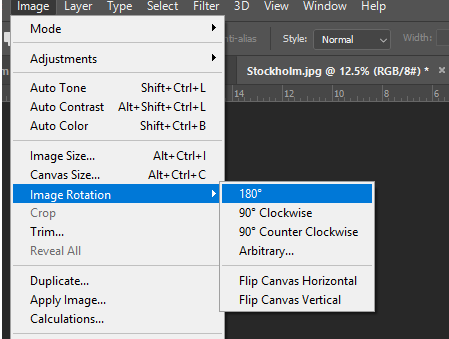
Now you should be seeing your image upside down.
Create your Small World.
Now, this is where the magic happens.
Go to Filter > Distort > Polar Coordinates
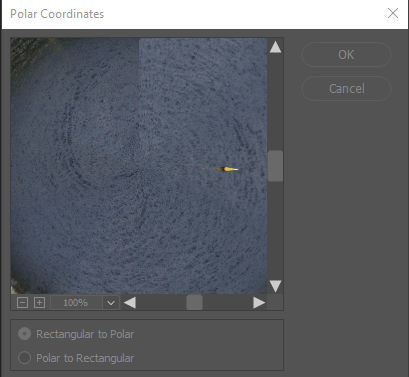
Make sure the Rectangular to Polar option is selected and click OK.
Now you will get to see your image for the first time.
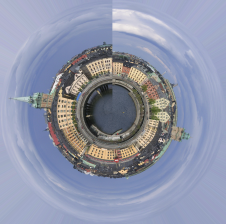
Now it’s time to tidy up the join. I mainly use the clone tool and spot healing brush. I also like to rotate the image and crop to a square.
Here is my final image:
I hope you enjoyed the walk through. If something isn’t clear or you’ve created a really cool small planet let me know in the comments below.
Thanks
Ian